
Tech Time!
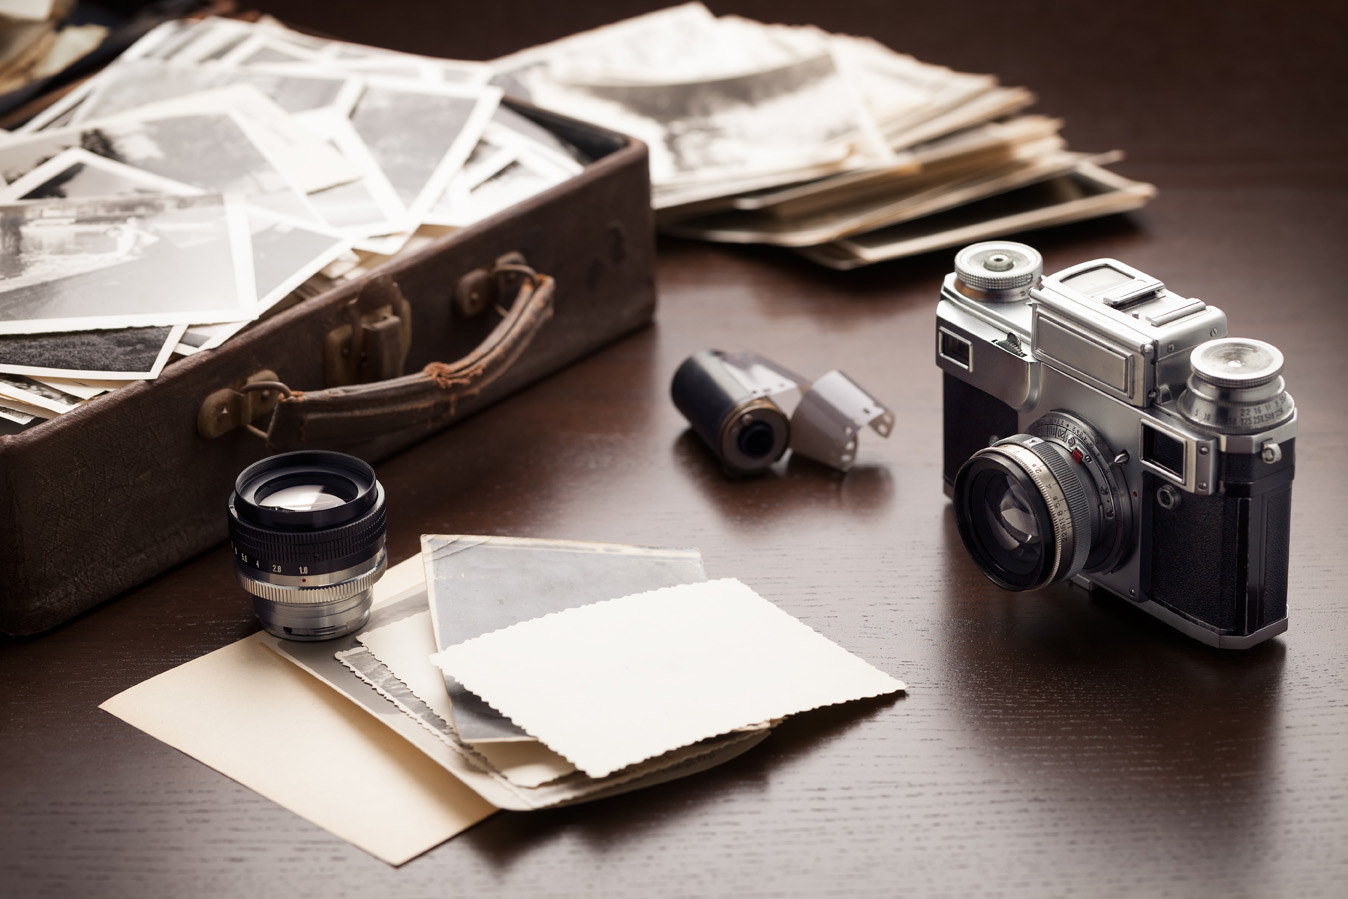
Tech Time is the third instalment in our 3 part mini-series on creating a digital photo/video archive. Kindly follow these links for part 1, A Life in Photos: Preserving our Legacy as it Happens and part 2, Photo Synthesis.
How nice would it be to get your photo and video collections under control and make it shareable with the rest of the family. Here are some basic tools to keep in mind to manage these collections, and hopefully will help you avoid some mistakes that eat up precious time.
STEP 1: PROJECT SETUP
 Before digitizing it is essential to do a manual sort of all the images you own. This includes your digital photograph and video collections as well as your online images. You might find it easier to start with your digital media before proceeding to the hardcopies.
As discussed in our previous blog post, this is the prime opportunity to cull duplicates including “bad” photos (blink, red eye), landscape and scenery shots. You may start by dividing them chronologically and then by group, subject or family.
STEP 2: SCANNING
The next step will move your printed photos, negatives and slides into the digital era. This ensures that their quality is preserved, unlimited duplicates are accessible to family members, and provides the security of being backed up in case of loss or damage.
Photo and negative scanners are available for purchase or rent. Consider using linen gloves to avoid smudging photos or negatives with finger prints, as well as using a micro-fibre cloth or compressed air canister to remove dust from both the media and the scanner.
Ensure that your scanning output is at the highest quality i.e. scanned at a minimum 300 dpi (dots per inch). This means that you can make prints from these files, should you wish to have them reproduced. While 72 dpi will appear clear on a computer screen, bear in mind it will create a blurry print.
FILE NAMES AND CATALOGUES
Developing a file naming and cataloguing system that works and makes sense from the beginning is tremendously helpful. Do not name each photo individually (according to the people in it, for example). Rather, choose a serial number approach that captures all the essentials you can use to search for it later on. An example of this would be DATE / EVENT / NUMBER: 05052007 Karie and Flo’s Wedding – 01.
When cataloguing a folder system that includes: Year, Season/Month and Event provides a clear path as to where to save images. Don’t go too “deep” into subfolders as it can make files increasingly difficult to locate.
Although at first it may appear unnecessary, it is useful to start cataloguing according to maternal or paternal side of the family, above YEAR in the folder hierarchy. It sets a system in place to accommodate family growth through marriage, remarriage and stepfamilies.
TAGGING
Whether you’re working on a PC or a Mac, offline or online, photo-tagging options are available and simple to use. A Google search can help you find these resources.
With thousands or tens of thousands of images to work with, consider integrating a standard for your tags and captions into your workflow. “Uncle Ken (Grenkow), fishing at Lake Wanapasaki CT, 1976.” This image could be tagged with the words: Ken, Grenkow, Fishing, Wanapasaki, CT, 1976.
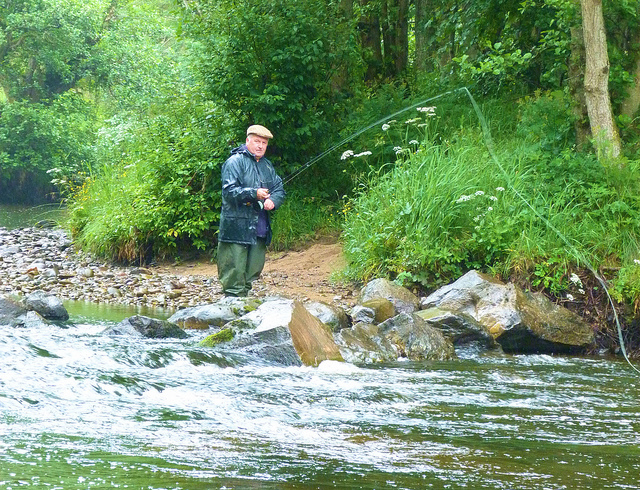
Searching for the keyword KEN for example, will pull up all this Uncle Ken’s photos in your collection, along with anyone else named Ken. You can refine your search using more than one keyword to narrow your results. Think of the time saved in future searches if all photos have been properly tagged!
If you’re stuck for particular details in a photo, consider using online photo platform – such as Google+ Photos (AKA as Picasa) or social media to “kin crowd-source” the missing info. To use this method, post photos to a private album and ask family members if they know who is in the photo, what year it was taken, who is sitting beside whom, etc. It can be a fun way to go down memory lane together and can also generate excitement and participation for your project.
As this task can be long and feel tedious at times, a great suggestion is to use speech-to-text software and dictate right to the file.
THE DIFFERENCE BETWEEN BACKING UP AND ARCHIVING
A backup is a duplicate copy (on an external hard drive or on the Cloud), which serves to prevent loss due to issues like computer failure or theft.
An archive, on the other hand, is a copy kept in safe storage. At least one archival copy should be stored off-site (away from home) and should be accessible offline. The Library of Congress suggests putting this copy with your important papers.
Remember, as your backup is updated every time you save new media you must periodically update your archival copy as well. This archival copy should be checked at least once a year to make sure the files are legible and new copies created every five years or so to avoid potential data loss.
THE ICING ON THE CAKE
The true joy of this project is in the accomplishment of what often is a large daunting task (don’t we all have thousands of photos by now?). Then once completed, gifting a hard drive or memory key copy to loved ones will be a unique and cherished heirloom.
Sorting, editing and archiving your family photos is truly a great journey to undertake. We wish you all a bon voyage on this digital adventure!
|


Leave a Reply
Want to join the discussion?Feel free to contribute!